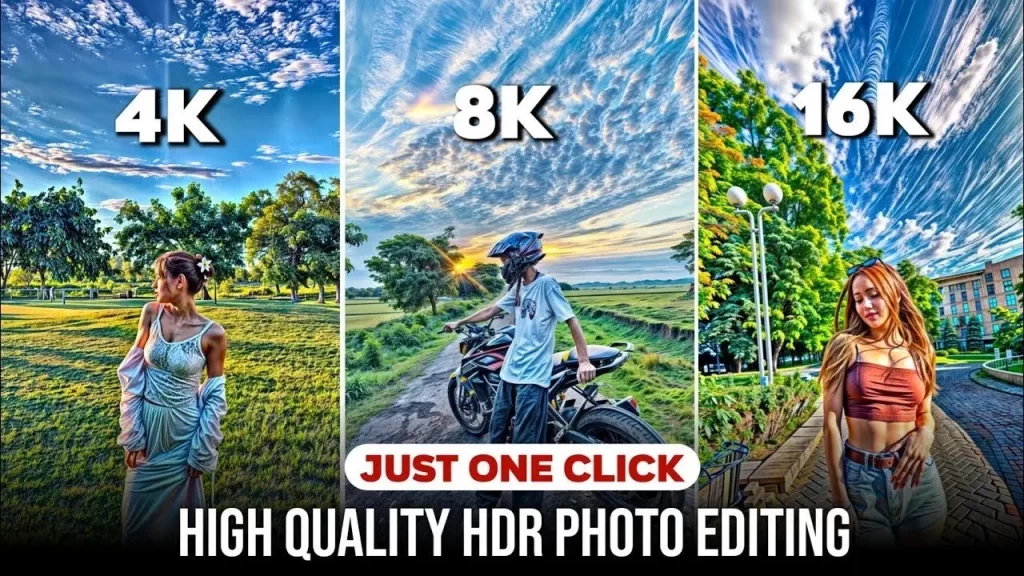
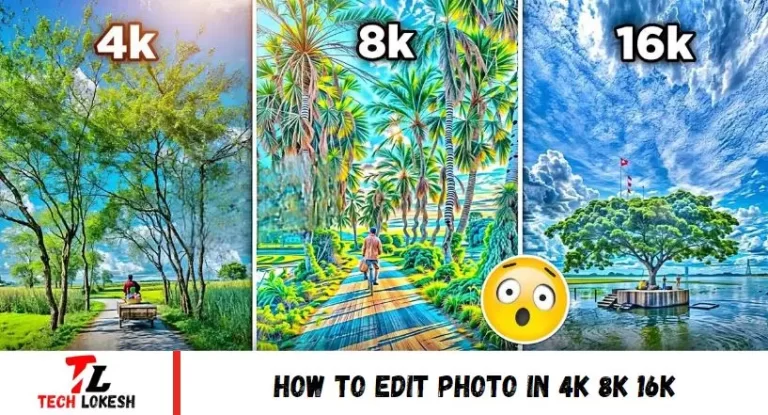
Editing photos in 4K, 8K, and even 16K resolution has become increasingly popular with digital photography and display advancements. These high resolutions offer unparalleled clarity and detail, making photo editing a meticulous but rewarding process. Whether you’re refining landscapes, portraits, or intricate details, editing in these resolutions demands powerful hardware and precise software tools capable of handling large file sizes and maintaining image integrity.
From adjusting colors to enhancing textures, each pixel carries immense detail, requiring careful attention to preserve quality throughout the editing process. This guide explores the techniques and tools essential for editing in 4K, 8K, and 16K, ensuring your images meet and exceed modern visual storytelling standards. Whether you’re a professional photographer or an enthusiast pushing the boundaries of image resolution, mastering high-resolution editing opens new possibilities for creating stunning visual experiences.
How To Edit Photo in 4k 8k 16k
Editing photos in 4K, 8K, and 16K resolutions requires specific techniques and tools to handle the high level of detail and file size involved. Here’s a comprehensive guide on how to effectively edit photos in these ultra-high resolutions:
Hardware Requirements:
- Powerful Computer: Ensure your computer has sufficient RAM (16GB or more), a fast processor (Intel Core i7 or equivalent), and a high-end graphics card (NVIDIA GTX 1060 or AMD Radeon RX 580) to handle large file sizes and complex editing tasks.
Software Tools:
- Adobe Photoshop: Use advanced features like Smart Objects and non-destructive editing to maintain image quality.
- Lightroom: Organize and edit RAW files efficiently, utilizing GPU acceleration for smoother performance.
- Capture One Pro: Offers excellent RAW file handling and color management for precise editing.
Workflow Tips:
- Import and Organize: Use software to manage and organize files, ensuring quick image access.
- Backup: Always keep backups of original files before editing.
- Editing Techniques: Utilize layers, masks, and adjustment layers for non-destructive editing.
- Detail Enhancement: Sharpen details cautiously to avoid artifacts.
- Color Correction: Adjust colors using curves, selective color adjustments, and white balance tools for accurate tones.
Export and Output:
- File Formats: Export edited images in formats suitable for your intended use (JPEG, TIFF, etc.).
- Resolution and Scaling: Maintain the integrity of high-resolution images during scaling for different display sizes.
Monitor Calibration:
- Color Accuracy: Calibrate your monitor regularly to ensure accurate color representation during editing.
By following these steps and using appropriate tools, you can effectively edit photos in 4K, 8K, and 16K resolutions, achieving professional-level results with enhanced detail and clarity.
Read More: Sidhu Moose Wala Cartoon Photo
How To Use Kreado Ai
Using Kreado AI involves several steps to effectively generate content. Here’s an essential guide on how to use Kreado AI:
Accessing Kreado AI:
- Visit the Kreado AI website or platform where the AI tool is hosted.
Creating an Account:
- Sign up or log in to your Kreado AI account.
Generating Content:
- Choose the type of content you want to create (e.g., articles, blogs, social media posts).
- Input specific details such as keywords, topic, and desired length.
Customizing Options:
- Adjust settings for tone of voice, style, and readability according to your preferences.
Reviewing and Editing:
- After generating the content, review the AI-generated output.
- Edit and refine the content to ensure it meets your standards and requirements.
Exporting or Publishing:
- Once satisfied with the content, export it in your preferred format (e.g., text file, HTML).
- Publish the content directly or integrate it into your publishing platform.
Feedback and Iteration:
- Provide input to Kreado AI on the generated content to improve future results.
- Iterate the process to refine and enhance the quality of content generated.
By following these steps, you can effectively utilize Kreado AI to efficiently generate various types of content and tailor them to your specific needs and preferences.

CREATE PHOTO
To enhance your photo, follow these steps: scroll down and select “enhancer.” This will take you to a new page. Click on the “drag & drop” option to open your gallery. Choose a photo, then select 2x, 4x, or 8x enhancement options three times for improved quality. To save your enhanced photo, type the photo name and click the download option on the site to save it to your mobile device.
Frequently Asked Questions
What is photo editing?
Photo editing involves enhancing or modifying images to improve their appearance or convey a specific message. It can include adjustments to colors, contrast, cropping, and more.
What software can I use for photo editing?
Popular photo editing software includes Adobe Photoshop, Adobe Lightroom, GIMP (GNU Image Manipulation Program), Affinity Photo, and Corel PaintShop Pro. Each offers different features and capabilities suited to various editing needs.
How do I enhance a photo without losing quality?
To maintain quality while enhancing a photo, work non-destructively by using adjustment layers or intelligent objects. Avoid excessive compression or resizing beyond the original image resolution.
How do I learn photo editing effectively?
Practice regularly using tutorials and online courses and experimenting with different techniques. Joining photography communities or forums can also provide valuable feedback and tips.
What file formats are best for photo editing?
RAW formats like.NEF (Nikon),.CR2 (Canon), or.DNG (universal) offers the highest quality and flexibility for editing. JPEGs are commonly used but may have less flexibility due to compression.
How can I make sure my edited photos look good on different devices?
Use color management tools and export settings that maintain color accuracy. Test your edited photos on various devices and adjust them for optimal viewing.
What ethical considerations should I keep in mind when editing photos?
Maintain integrity by representing subjects truthfully and accurately, especially in journalistic or documentary contexts. Disclose significant edits that alter the original context of the image.
Can photo editing be automated?
Yes, certain tasks, such as batch processing, basic adjustments, or applying presets, can be automated using software or scripts, saving time in repetitive tasks.
Conclusion
Editing photos in 4K, 8K, and 16K resolutions opens possibilities for achieving exceptional detail and clarity in professional-grade enhancements. These resolutions refer to the pixel dimensions of images, with each providing increasingly finer levels of detail.
To begin, editing in 4K (3840 x 2160 pixels) allows for meticulous adjustments to the photo’s colors, textures, and intricate elements. This resolution is well-suited for detailed retouching tasks where precision is critical. Moving up to 8K (7680 x 4320 pixels) further enhances the editing capabilities, offering even sharper details and more flexibility in cropping and resizing without sacrificing image quality.

